Building a gaming PC is more than just piecing together hardware; it’s about creating a machine that perfectly matches your gaming needs and aspirations. As a seasoned gamer in Kenya, I understand the challenges of finding reliable information. This comprehensive guide will walk you through every step of building a gaming PC, ensuring you have all the information you need to get started with confidence.
Setting the Foundation: Define Your Gaming Vision
Before you start building a gaming PC, it’s crucial to understand what you want from your system. Are you looking to play the latest AAA titles at ultra settings, or is a balanced build for 1080p gaming more your speed? Establishing your gaming goals and budget will guide your component choices and ensure you build a gaming PC that meets your needs.
Key Considerations:
- Gaming Resolution: 1080p, 1440p, or 4K.
- Game Types: AAA titles, eSports, or indie games.
- Future-Proofing: Plan for upgrades and new releases.
Curating Your Components: Where Performance Meets Precision
Choosing the right components is critical for building a gaming PC that delivers exceptional performance. Here’s a detailed look at what you need:
Central Processing Unit (CPU)
The CPU is the brain of your gaming PC. For top-tier gaming performance, consider CPUs like AMD’s Ryzen 7 and Ryzen 9 series or Intel’s Core i7 and i9. These processors offer high clock speeds and multiple cores, ensuring smooth gameplay and efficient multitasking.
Graphics Processing Unit (GPU)
The GPU is the powerhouse of your gaming PC. NVIDIA’s RTX 30 series or AMD’s Radeon RX 6000 series are excellent choices. Ensure your GPU has enough VRAM (8GB minimum, but 12GB or more is better) to handle future game requirements.
Motherboard
Your motherboard must be compatible with your CPU and GPU. Look for motherboards with PCIe 4.0 support, multiple M.2 slots for SSDs, and ample RAM slots. Reliable brands include ASUS, MSI, and Gigabyte.
Memory (RAM)
For a gaming PC, 16GB of RAM is the standard, but 32GB can future-proof your build. Choose high-speed RAM with low latency to maximize performance. Check out Corsair and G.Skill.
Storage
An NVMe SSD will significantly improve load times and system responsiveness. Pair it with a larger HDD for additional storage. Install your OS and frequently played games on the SSD for the best performance. Samsung, Western Digital, and Crucial are excellent brands.
Power Supply Unit (PSU)
A high-quality PSU ensures stable power delivery to your components. Aim for at least 80 Plus Gold certification and check the wattage requirements of your build. Reliable brands include Corsair, EVGA, and Seasonic.
Case
Choose a case with good airflow and enough space for your components. Features like cable management and removable drive bays can make the build process easier. NZXT and Corsair offer excellent cases for gaming PCs.
Cooling
Effective cooling is essential for maintaining performance. Consider a combination of case fans and a high-quality CPU cooler. Liquid cooling solutions are ideal for high-performance builds and overclocking. Check out Cooler Master and Noctua.
The Assembly: Crafting Your Gaming Masterpiece
Building a gaming PC requires careful attention to detail and patience. Here’s a step-by-step guide to assembling your components:
Prepare and Organize
Set up a static-free workspace and gather your tools – primarily screwdrivers. Use an anti-static wrist strap to protect your components from electrostatic discharge.
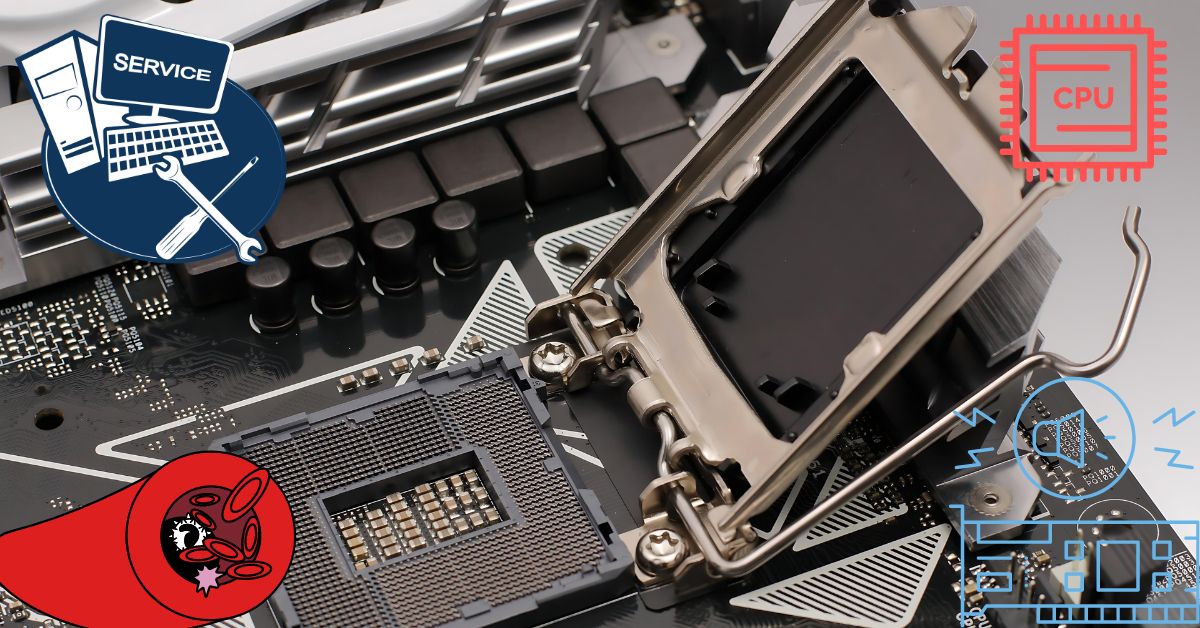
Install the CPU
Carefully place the CPU into the motherboard socket, aligning it according to the notches, and secure it. Apply thermal paste and attach the CPU cooler, ensuring proper contact for optimal heat dissipation.
Install RAM
Insert your RAM sticks into the appropriate slots, ensuring they are seated firmly. Consult your motherboard’s manual for the recommended slots to optimize performance.
Mount the Motherboard
Place the motherboard into the case and secure it with screws. Connect the power cables from the PSU and ensure all connectors are properly aligned.
Install the GPU
Slot the GPU into the PCIe slot and secure it with screws. Connect the necessary power cables from the PSU to the GPU, making sure they are firmly attached.
Add Storage
Mount your SSD and HDD in their designated slots or bays. Connect them to the motherboard and PSU using the appropriate cables.
Manage Cables
Organize cables for better airflow and a cleaner look. Use cable ties or Velcro straps to keep cables tidy and out of the way.
Power Up and Test
Turn on your PC and enter the BIOS to check that all components are recognized. Ensure your system is stable and temperatures are normal. Install your operating system and drivers, then configure settings to your liking.
Fine-Tuning Your Setup: Optimize for Peak Performance

Optimizing your gaming PC ensures you get the best performance. Here are some tips:
Update Drivers and BIOS
Ensure all drivers, especially for your GPU and motherboard, are up to date. Updating your BIOS can also enhance stability and compatibility.
Monitor and Maintain
Use software tools to monitor system performance and temperatures. Regularly clean dust from components and ensure fans are functioning properly to maintain optimal performance.
Customize Your Experience
Adjust in-game settings and system preferences to get the best out of your build. Fine-tune overclocking settings if you’re comfortable, and explore software tools for further customization.
Conclusion
Building a gaming PC is a rewarding journey that combines technical skill with personal passion. This guide equips you with the knowledge to confidently build a gaming PC tailored to your needs. Embrace the process, enjoy the satisfaction of a job well done, and get ready to experience gaming like never before. If you are looking for more information on gaming PCs just contact us TODAY!
You can read Our Top Picks for Gaming Monitors here.